

Let’s be real: car infotainment systems can be a massive rip-off. You shell out extra thousands for a “premium” package, and half the time, you end up with a clunky, undersized screen running outdated software. I’ve been there. My last car had a tiny 7-inch display that felt ancient the day I drove it off the lot. It was slow, barely legible in sunlight, and felt like a slap in the face when I knew what kind of tech I had in my pocket. And getting a proper aftermarket Android Auto head unit? The good ones are expensive, installation can be a pain, and you often lose some OEM functionality. Frustrating, right?
Table of Contents
- Why Bother? The Appeal of a Tablet-Powered Android Auto Head Unit
- What You’ll Need: The Essential Gear for Your DIY Setup
- Step-by-Step Guide: Setting Up Your Android Auto Head Unit
- Making It : Tips for a Polished In-Car Experience
- The Downsides and Things to Consider Before You Commit
- Frequently Asked Questions
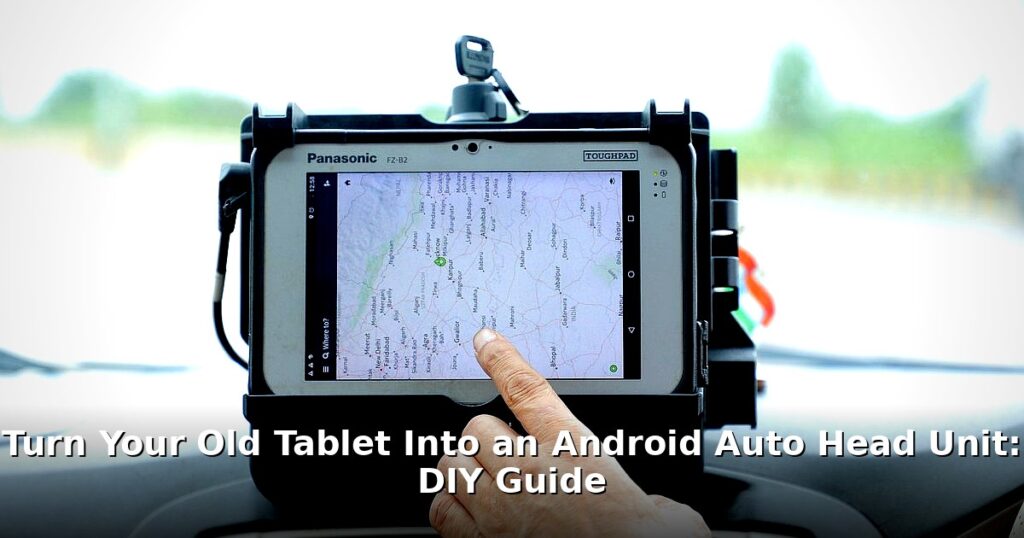
But what if I told you there’s a surprisingly effective, budget-friendly way to get a huge, modern touchscreen in your car, complete with full Android Auto functionality? You can now use your old tablet as an Android Auto head unit, transforming that dusty device into a killer tablet car display. It’s a fantastic way to give new life to old tech, save some serious cash, and get a genuinely better in-car experience. I dove headfirst into this a few months ago, and honestly, I’m pretty stoked with the results.
Why Bother? The Appeal of a Tablet-Powered Android Auto Head Unit
So, why go through the trouble? Well, for starters, the cost savings are huge. A decent aftermarket head unit with a large screen can easily run you $500-$1000, not including installation kits and labor. Your old tablet? It’s already paid for! Even if you buy a used one specifically for this project, you’re looking at a fraction of the cost. Check out our guide on When Google Earth Fuels Fake Scenes: A Look at Digital Misuse. We covered this in Apple’s Siri AI: Will We Pay for Smarter Voice Control?.
Then there’s the screen real estate. Many factory or even aftermarket units top out at 8 or 9 inches. But with a tablet, you can easily get a 10-inch or even 12-inch display. That’s a massive difference when you’re trying to glance at navigation or skip a track without taking your eyes too far off the road. Everything is bigger, clearer, and just more pleasant to interact with.
And the customization potential! You’re not just limited to Android Auto. While that’s the primary goal, you still have access to the full Android app ecosystem (with a few common-sense caveats, obviously). Want to run a specific car launcher? Go for it. Need a particular diagnostic app? Install it. The flexibility is incredible. Plus, it feels good to be sustainable, doesn’t it? Repurposing an old device instead of letting it gather dust in a drawer is a win in my book.
And that matters.
What You’ll Need: The Essential Gear for Your DIY Setup
Alright, let’s get down to brass tacks. You can’t just slap any tablet in your car and expect magic. There’s some essential gear to consider for your DIY Android Auto setup.
- The Tablet Itself: An old Android tablet is the star of the show. I’d recommend something running Android 6.0 (Marshmallow) or newer. A decent screen resolution (1080p is great) and at least 2GB of RAM will ensure a smoother experience. And for connectivity, Wi-Fi is a must, but if you can find one with LTE, that’s a bonus for independent internet access. My old Samsung Tab A 10.1 (2016 model) fit the bill perfectly.
- The Apps: This is crucial. You’ll need an app like ‘Headunit Reloaded’ (there are others, but this one is widely recommended and what I use). It essentially emulates a car head unit, allowing your phone to project Android Auto onto the tablet. You’ll also want a good car launcher (more on that later) to keep things simple and safe while driving.
- Power Solution: Cars are notoriously finicky with USB power. You need a high-amperage USB car charger. Seriously, don’t skimp here. A 3.0A or higher output is ideal to keep the tablet charged, especially when running navigation and screen brightness up. And good quality USB cables. Cheap cables can lead to slow charging or data connection issues.
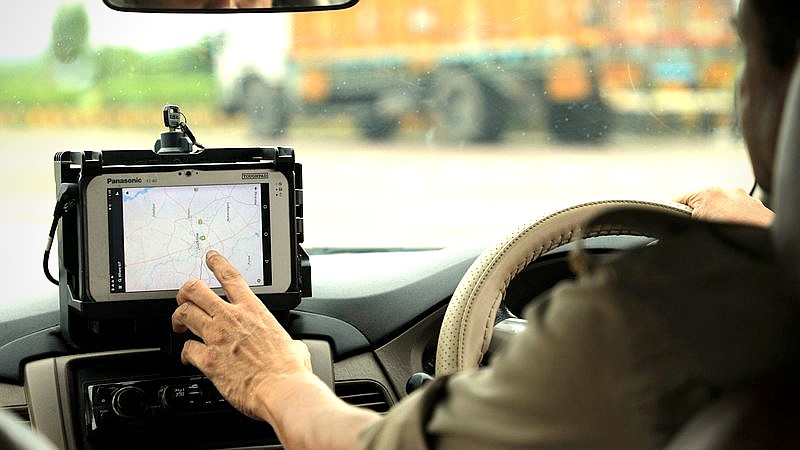
- Mounting Solution: Stability is key. You don’t want your tablet flopping around while you’re driving. Dashboard mounts, vent mounts, or even CD slot mounts can work. For a really clean look, some folks even custom fabricate a mount into their dash. I went with a heavy-duty suction cup mount on the windshield, positioning it just above my existing dash, and it’s surprisingly stable.
- Audio Solution: How do you get sound from the tablet to your car’s speakers?
- AUX Cable: If your car has an auxiliary input, this is often the simplest and best quality option.
- Bluetooth FM Transmitter: A decent one can work in a pinch, but quality can vary, and you’re at the mercy of local radio interference.
- Dedicated USB DAC: For audiophiles or cars without AUX, a small USB DAC connected to the tablet can output audio to your car’s stereo if it has a USB input that supports audio (check your car manual!).
- Internet Connection: Your tablet will need internet for navigation, streaming music, and Android Auto updates. If your tablet has its own LTE, great! Otherwise, you’ll be tethering from your phone, which works ly for me.
Step-by-Step Guide: Setting Up Your Android Auto Head Unit
Alright, let’s get this DIY Android Auto project rolling. It’s not as daunting as it might seem.
1. Prepare Your Tablet
First things first, factory reset that tablet. Clean slate. This gets rid of any old junk and ensures a fresh start. Once that’s done, go through and “debloat” it as much as possible. Disable or uninstall any unnecessary manufacturer apps. You want this tablet to be lean and mean. Then, install ‘Headunit Reloaded’ (or your chosen alternative) from the Google Play Store, along with Android Auto itself (if it’s not already on your phone), and any car launcher apps you plan to use.
2. Install ‘Headunit Reloaded’ and Configure
This app is the magic sauce. Once installed, launch it. You’ll need to configure some settings for optimal car use. Pay attention to resolution, touch response, and connection type (USB or Wi-Fi). I’ve found that setting a slightly lower resolution than native can sometimes improve performance on older tablets. The app has a helpful setup wizard, just follow it. You might need to enable developer options on your phone and tablet for USB debugging if you go the wired route. For wireless Android Auto, ensure both devices are on the same Wi-Fi network (your phone’s hotspot works great).
3. Mount the Tablet Securely
This isn’t just about aesthetics; it’s about safety. Your tablet car display needs to be rock-solid. Attach your chosen mount in a location that’s accessible, doesn’t obstruct your view of the road, and won’t block essential car controls. Test it out. Give it a good tug. Drive around a bit on a bumpy road to ensure it stays put. Nothing worse than your navigation flying off the dash mid-turn.
4. Connect Power and Audio
Plug in that high-amp USB car charger. Seriously, get a good one. Make sure the tablet is consistently charging, not just maintaining battery. Then, connect your audio solution. If it’s an AUX cable, plug it in. If it’s Bluetooth, pair it. Test the sound quality. Is it clear? Is there any static? Adjust volumes on both the tablet and your car stereo for the best output.
5. Initial Testing and Troubleshooting
Now, the moment of truth! Launch ‘Headunit Reloaded’ on the tablet, and then connect your phone to it (either via USB or Wi-Fi, depending on your setup). Android Auto should pop up on the tablet’s screen. Test everything: navigation, music playback, voice commands, phone calls. Verify GPS accuracy, too. Sometimes you’ll encounter lag, connectivity drops, or audio problems. For lag, try restarting both devices or checking your tablet’s background processes. Connectivity issues often boil down to a weak Wi-Fi signal (if wireless) or a faulty USB cable (if wired). Audio issues might need some fiddling with volume levels, or checking cable connections.
Making It : Tips for a Polished In-Car Experience
Once you’ve got the basics down for your tablet vehicle integration, you’ll want to refine it. My goal was always to make it feel as close to an OEM experience as possible, without the OEM price tag.
- Automate Startup: This is a . Use an app like Tasker to create profiles that automatically launch ‘Headunit Reloaded’ when the tablet detects power (i.e., when you start the car). It also automatically connects to my phone’s hotspot. Then, when power is cut, it can dim the screen, close apps, and even turn off Wi-Fi to save battery. It’s fantastic.
- Optimize for Car Use: Think about safety. Use dark themes to reduce eye strain, especially at night. Enable large icons and simplified interfaces. Some car launchers are specifically designed for this. You want minimal distractions. My favorite trick is to use a black wallpaper that blends the screen into my dash when not in use.
- Consider Offline Maps and Music: While your tablet will have internet, signal can be spotty in rural areas. Download offline maps for Google Maps or Waze beforehand. Sync your Spotify or YouTube Music playlists for offline playback. This ensures you’re never left stranded without navigation or tunes.
- Regular Updates: Keep ‘Headunit Reloaded’ and your Android Auto app on your phone updated. Developers are constantly improving performance and adding features. Outdated software is a recipe for jankiness.
My current setup, after months of tweaking, is pretty awesome. The tablet (that old Tab A) automatically boots into a simple car launcher. When I start the car, Tasker launches Headunit Reloaded, and Android Auto wirelessly connects from my phone. Sound goes out via AUX. It’s clean, it’s responsive, and the huge screen makes navigation a joy. I even have a small app that shows my car’s speed and compass on the tablet’s home screen when Android Auto isn’t active. Very slick.
The Downsides and Things to Consider Before You Commit
As much as I love this setup, I’m not going to pretend it’s OEM perfection. There are definitely some downsides to using an old tablet repurpose project. Go figure.
- Sunlight Glare and Heat Management: Tablets aren’t designed for constant direct sunlight. Glare can be an issue, and prolonged exposure to high temperatures (especially in summer) can damage the battery and internal components. I keep a sun shade on my windshield when parked, and on really hot days, I might remove the tablet.
- Security and Theft Risk: A large tablet prominently displayed in your car is an attractive target for thieves. I always remove mine and take it with me, or at least put it out of sight, when I leave the car. This is a big one.
- Integration Limitations: This is purely an infotainment replacement. Your tablet won’t integrate with your car’s original functions like climate control, steering wheel buttons (unless you add an external adapter), or displaying car diagnostics (unless you use an OBD2 dongle and a separate app). It’s a separate system.
- Potential for Jankiness: It’s a DIY solution. Sometimes, Android Auto might not connect perfectly on the first try, or an app might crash. It’s not as foolproof as a factory system. You need to be prepared for occasional troubleshooting.
- Battery Degradation: Constant charging and discharging, especially in a hot car, will inevitably degrade the tablet’s battery over time. It’s a trade-off for continuous power.
Despite these caveats, for me, the benefits far outweigh the drawbacks. The sheer utility, the massive screen, and the cost savings make a tablet car display an incredibly compelling option for an Android Auto head unit. If you’ve got an old tablet gathering dust and a bit of a DIY spirit, I highly recommend giving this a shot. It might just your driving experience.
Frequently Asked Questions
Q: Can any old Android tablet be used for this project?
A: While many tablets will work, it’s best to use one running Android 6.0 or newer with a decent processor and at least 2GB of RAM for a smoother experience. Screen quality and size are also important for visibility in a car.
Q: Do I need a paid app to turn my tablet into an Android Auto head unit?
A: Yes, typically an app like ‘Headunit Reloaded’ is required, which usually has a small one-time purchase fee. This app emulates the car’s head unit and allows your tablet to run Android Auto.
Q: How do I get sound from the tablet to my car’s speakers?
Look, A: You have several options: using an AUX cable if your car has an input, a Bluetooth FM transmitter, or a dedicated USB DAC (Digital-to-Analog Converter) for higher quality audio if your car stereo supports it.
Q: Will I lose access to my car’s original features like climate control or reverse camera?
A: This DIY setup primarily replaces the infotainment screen. You’ll likely still use your car’s physical controls for climate and its original display for features like reverse cameras, as the tablet doesn’t integrate into the car’s CAN bus system.